Gerudo Proving Grounds: A Fortress of Puzzles, Trials, and Ice Arrows
Nov 16, 2026
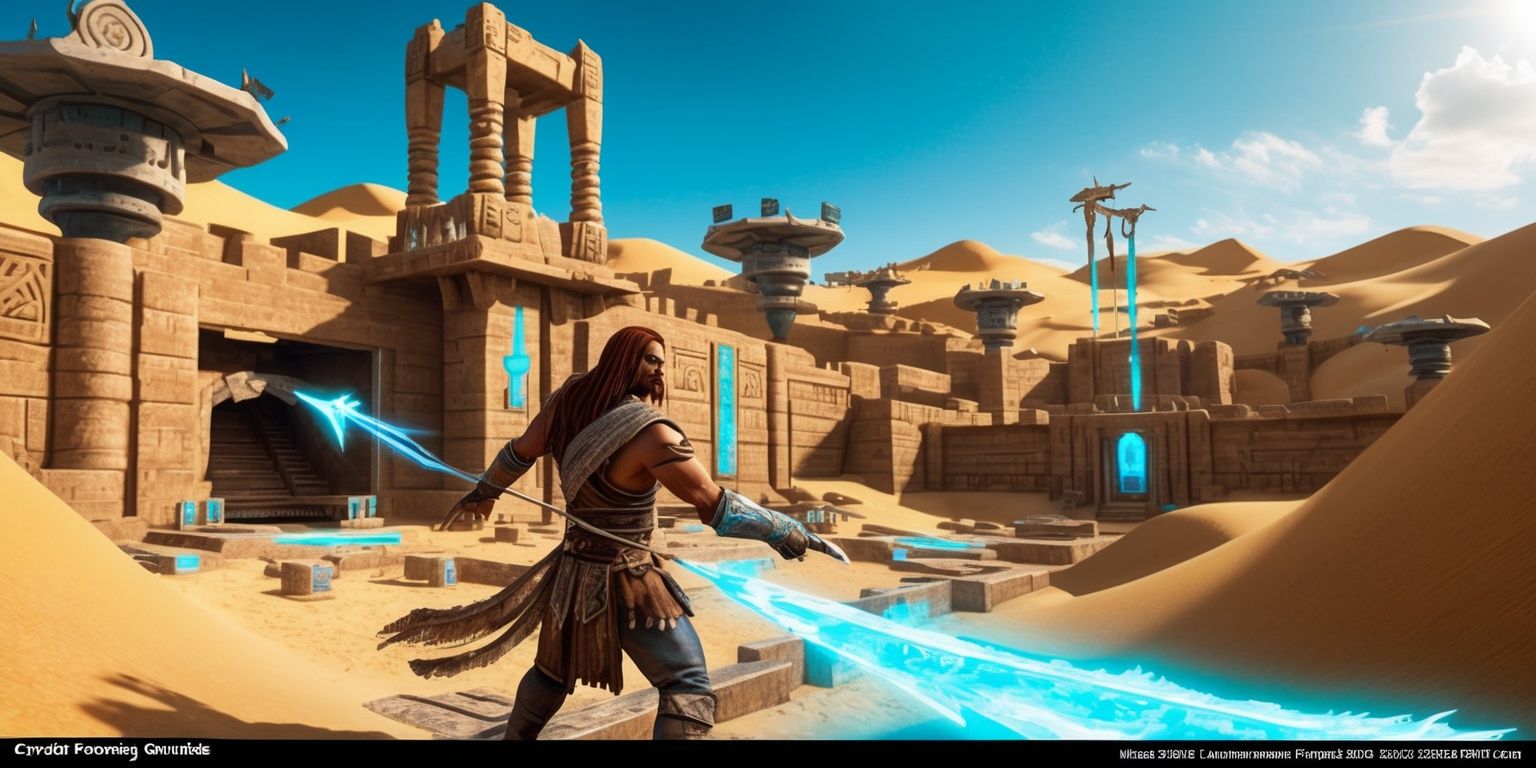
Hidden within the Gerudo Fortress, the Gerudo Proving Grounds stand apart from every other challenge in Zelda: Ocarina of Time. It is not a required dungeon, yet it feels like one of the game’s most inventive tests of preparation, memory, and map reading. For 30 Rupees, Link can step into a maze-like series of trials that reward patience and planning with the Ice Arrows, one of the most memorable optional prizes in the adventure. What makes this area fascinating is the way it blends combat, puzzle-solving, mobility checks, and item management into a sequence that keeps changing its rhythm from room to room.
The Fortress Gate and the Price of Entry
The Proving Grounds sit in the southwestern section of Gerudo Fortress, where the layout already hints that this is not a simple side path. Before entering, Link must speak with the attendant near the gate and pay the entrance fee. That small exchange sets the tone immediately, because the area treats access like a formal challenge rather than a casual detour. Another important detail is that progress is preserved if you leave, which gives the dungeon an unusual flexibility for a game of this era. Still, that convenience comes with a tradeoff: every return costs another 30 Rupees. The design quietly encourages players to commit, gather their tools, and see the ordeal through in one push if they can manage it.
How the Trial Is Framed
The structure of the Proving Grounds works through three major routes, each with its own hazards, switches, treasures, and key requirements. At a glance, the space appears to be a test of combat, but it quickly becomes a broader exam of navigation and item use. The game does not present the objectives as a straight line. Instead, it makes the player loop back through earlier rooms, respond to hidden clues, and pay attention to vertical space. The result is a dungeon-like challenge that feels mechanical and deliberate, with each section reshuffling the pace. Because the reward is tied to thorough exploration, the entire area acts as a lesson in reading the environment instead of rushing through it.
Right Path: The First Combat Gauntlet
Taking the doorway on the right leads to the first major encounter, and it wastes no time in locking the player into a tight battle zone. A Beamos watches the room while two Lizalfos press the attack, creating a fight that demands both control and awareness. Bombs are the cleanest answer to the mechanical hazard, allowing the player to shift attention toward the faster enemies. Once the room is cleared, a chest appears containing a Small Key, which reinforces the Proving Grounds’ habit of making every fight feel like a practical step forward. The design here is elegant in its simplicity: remove the threat, claim the key, and prepare for a very different kind of room immediately beyond it.
Heat, Stone, and Time Magic

Beyond the battle room lies a lava chamber that changes the tone completely. Before advancing, Link must equip the Goron Tunic, because the environment punishes anyone who forgets the heat resistance. The space then becomes a layered platforming puzzle above molten ground, using cubes embedded in the walls and floor as tools for movement. A well-placed Song of Time transforms a stuck block into a set of floating stepping stones, turning the stage into a route across dangerous space. The cleverness of this puzzle lies in how it repurposes the environment rather than inventing new mechanics. The player is not merely crossing a gap; they are reshaping the room’s structure in real time to create a usable route.
Switches, Flames, and Vertical Routes
Once the floating cubes are in place, the room becomes a navigation puzzle that asks the player to read angles and use the available ledges with care. A switch removes fire from a distant diamond, and the game rewards careful observation by making the path bounce between low platforms and raised points. The Longshot soon becomes essential, because several of the later movements depend on pulling Link toward distant grapple points. This section has a strong sense of vertical choreography: upward pulls, lateral jumps, and precise positioning all matter. The room also introduces a Red Bubble, which keeps tension alive while the player focuses on movement. It is a strong example of how the dungeon mixes platforming and pressure without overwhelming the player with too many mechanics at once.
Water Chamber Beneath the Lava
The route eventually leads to a smaller room that contains four stone cubes and a hidden pool below them. Here, the Song of Time again acts like a room-changing key, removing the obstacles that conceal the water. The puzzle shifts from fire-based danger to underwater exploration, so the Iron Boots and Zora Tunic become mandatory equipment. The bottom of the room is filled with Blade Traps and Shell Blades, creating a slower, more deliberate kind of danger than the previous chambers. The diamonds in this area encourage thorough movement and good use of grapple points, since the player must gather several targets before heading out. This stands out as one of the best examples of the Proving Grounds’ variety, because it asks for patience, aquatic traversal, and combat awareness all at once.
Fire, Stone Faces, and Hidden Mechanisms
Back in the lava section, the next room adds another layer of environmental personality. Fire Keese and Torch Slugs make the room feel alive with movement, while a chest awards arrows after the enemies are dealt with. The Megaton Hammer then becomes the key tool, smashing decorative stone faces that are not merely scenery but concealing mechanisms. One of the great pleasures of Ocarina of Time is how its dungeons teach players to trust unusual objects, and this segment fits that philosophy perfectly. After striking the carved faces, a switch appears and another chest can be claimed. The room rewards every bit of curiosity, turning what first looked like decorative architecture into a sequence of useful discoveries and hidden progression points.
Signals in the Lava Chamber
Another lava room pushes the player toward observation and precision rather than brute force. The Scarecrow’s Song can summon Pierre on a high ledge, but the trick is knowing when to use that tool and when to save it. The better immediate move is to shoot the eye switch near the entrance and then target the stone in the center of the molten pool. Once both eyes are hit, the lava drains and a chest becomes accessible. This moment is satisfying because it reveals how the room was designed to be solved from a distance, with the player reading the geometry of the space rather than searching aimlessly. The room feels open and compact at the same time, a quality that defines many of the game’s best puzzle chambers.
Backtracking as Part of the Design
One of the defining traits of the Proving Grounds is its willingness to send the player back through earlier spaces with new capabilities. After collecting the key from the drained lava chamber, the route loops toward an earlier stacked-cube passage and uncovers two more chests, one holding a Small Key and another containing Bombchus. This kind of revisiting is not filler. It gives the area its identity as a connected puzzle web rather than a straight corridor of rooms. The player begins to understand that doors, ledges, and switches are not isolated events but part of a larger network. The design becomes more satisfying because knowledge gained earlier suddenly opens another layer of the fortress.
Left Path and the Sand-Filled Clash
The left route begins with a very different mood. Instead of lava and beams, the player is locked into a sandy room with two Stalfos, which immediately shifts the combat style toward timing and defensive movement. After defeating them, a chest appears with another Small Key, keeping the reward loop steady. The next room introduces rolling boulders and ground-level flame traps, demanding disciplined movement through a space that punishes hesitation. Five diamonds must be gathered here, and one of them is placed above the entrance, requiring the player to notice the overhead grapple point. This room feels especially well tuned because it uses motion hazards rather than enemy pressure to create tension, keeping the focus on timing and route planning.
Illusions, Wolfos, and Secret Walls
Further along the left branch, the atmosphere becomes more deceptive. A room full of Wolfos offers a reward chest, but the real challenge comes from the hidden geometry revealed by the Lenses of Truth. A gap in the wall appears above a trap door point, and using Hookshot or Longshot through it opens new access. This section is memorable because it turns visibility into a gameplay mechanic. What cannot be seen becomes the true path forward. After reaching the same ledge used in another branch, the player continues into a compact area where another Small Key waits. The design uses misdirection sparingly but effectively, ensuring that the illusion never feels unfair. Instead, it rewards players who think vertically and trust the unusual visual cues the dungeon provides.
Moving Blocks and the Like Like Hallway
The next stretch focuses on a massive cube that resembles a doorway and must be pushed forward until it falls into a hole, opening a path behind it. This movement puzzle changes the room into a motionless area into a mechanical one, where the player alters the arrangement of the environment itself. Past that point, the hallway becomes hazardous in a different way, with Like Likes waiting along the path. The Lenses of Truth reveal another hidden chest, while a distant eye switch opens yet more access. The player also receives Bombs from a breakable wall, which helps reinforce the thoughtful pacing of item rewards throughout the dungeon. The area is a strong example of layered problem-solving, blending forced movement, hidden objects, and enemy threats into a compact sequence.
The Center Route and the Final Prize
Returning to the main entrance, the center route serves as the final stretch toward the Ice Arrows. Shooting the eye switch above the doorway creates a dropped chest with a Blue Rupee, a small but deliberate reward that teaches the player to look upward before moving forward. Inside the next room, locked doors and hidden climbable surfaces create a cleaner, more linear sequence than the earlier branches, but it still uses the Lenses of Truth to reveal a climbing route and hidden chest. Each room continues to pay out keys, currency, and small supplies, building anticipation toward the final chest. The path narrows, the pacing steadies, and the last room places the Ice Arrow at the end of the chain, making the reward feel earned through a long series of understood spaces rather than a single lucky turn.
Exiting After the Reward
After obtaining the Ice Arrow, the exit sequence asks the player to treat the room layout one more time as a puzzle rather than simply leaving through the nearest opening. A switch behind the final chest must be pressed before the opposite door can be used, and then the player retraces the route outward. That exit matters because it preserves the area’s identity as a structured challenge even after the prize is secured. The Proving Grounds do not end with a flashy set piece or a cinematic flourish. Instead, the experience relies on the accumulated memory of the rooms, the tools used to solve them, and the satisfaction of moving back through a fortress that now feels fully understood, even as the next quest waits elsewhere in Hyrule.